Creating A Donut in Blender — Creating the Icing
In this tutorial we’ll be following videos: https://youtu.be/R2qjqqfkH6E & https://youtu.be/jmSgsaNSQ6s to create an icing on top of our donut.
Prerequisites would be the donut we created by the end of our tutorial here:
Creating a Donut in Blender — Modelling | by Abhay Raizada | May, 2021 | Medium
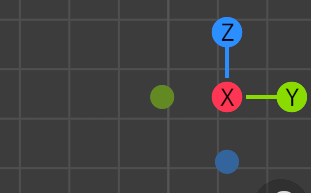
- First we need to look at our donut head on(view below), one way to do this is by clicking on the axis with the head-on view, the axes can be foundat the top right(representational image below)
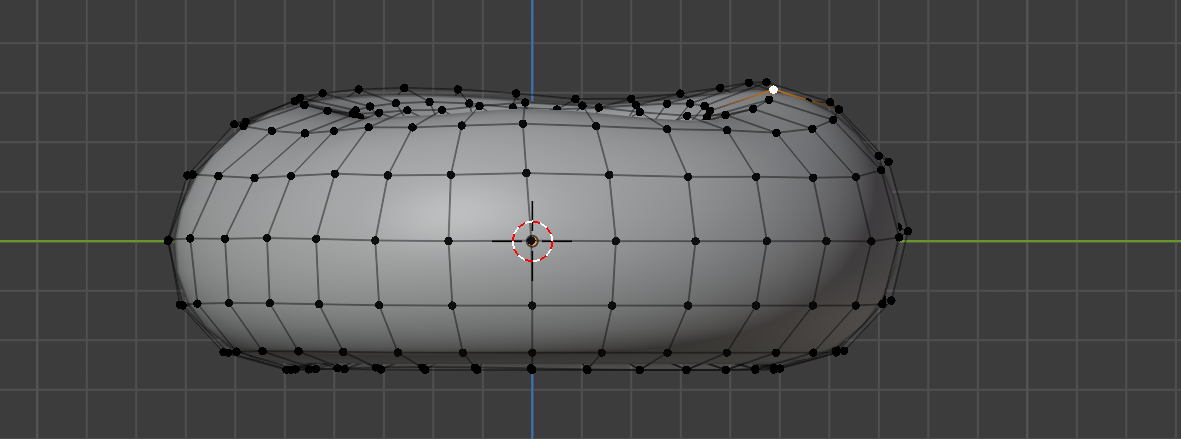
2. The next step is to select the top half of the donut and then duplicate it so that it forms the basis for the icing, a normal drag and drop selection won’t do in this case cause drag and drop doesn’t transcend solid surfaces, to do this you need X-Ray mode, this can be toggled-on through Alt + Z, and also from this UI icon

3. Now you can freely drag and drop and make sure to select the top part of your donut so that your selection looks like this:
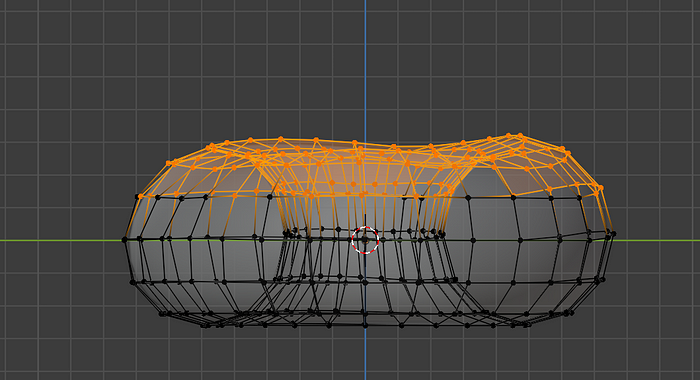
4. To duplicate this layer, press shift+D, this will create a layer that’s following your cursor, make sure to click Esc or right click so the duplicated layer falls back on the donut and not anywhere else on the screen.

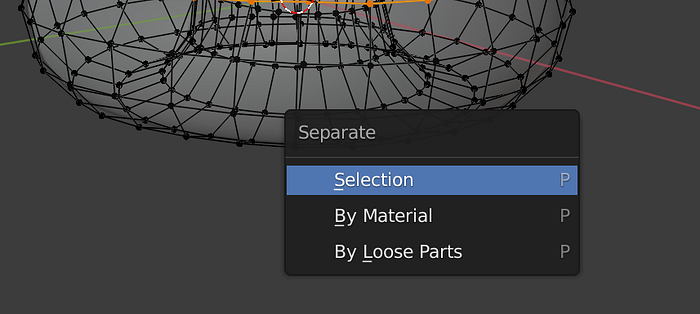
5. Now you want the duplicate to be it’s own object instead of being tied to the original Torus, to do this while in edit mode with duplicate object selected, press P, and from the menu the opens up select, “selection”
6. Now look at the outliner pane to your right, above the properties pane, you would now have two objects, this is the right time to rename these objects according to their actual name. Select the object and press F2 to rename
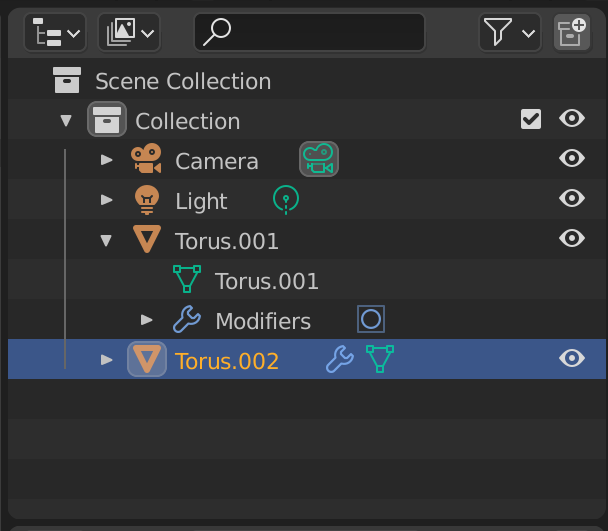
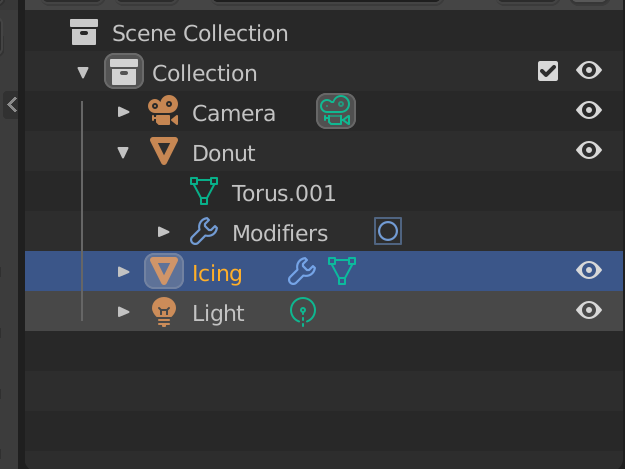
7. If your donut starts clipping when you zoom in too close it would be a nice idea to press N (and set clip start property to 0.001m)

8. The next step is to give our icing thickness, this would be achieved by adding the solidify modifier.

9. The next step is to tune this modifier, we want the modifier to push outwards instead of inwards, hence we will maximize the offset value, and then we would adjust the thickness to however thick we want our icing to be, these are my settings, and how my icing looks before and after the modifier
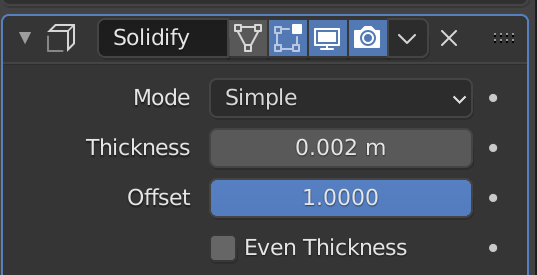
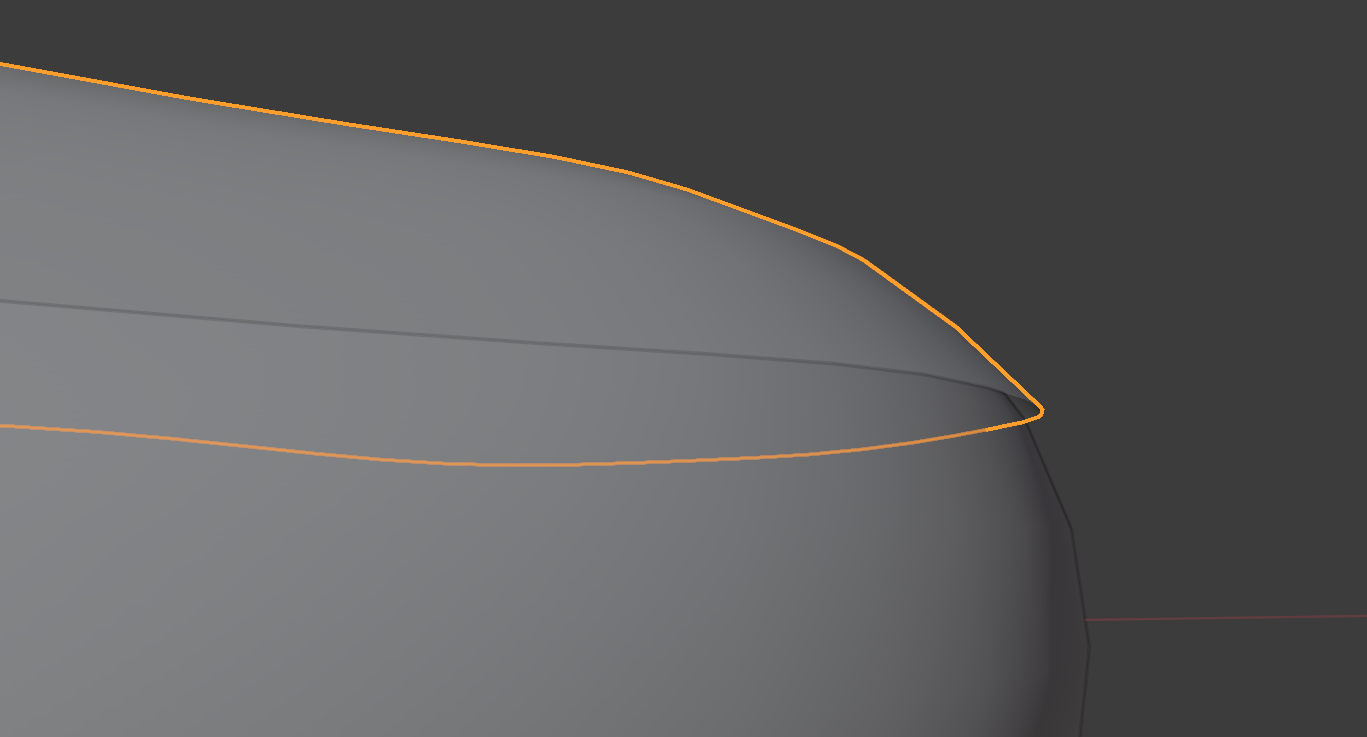
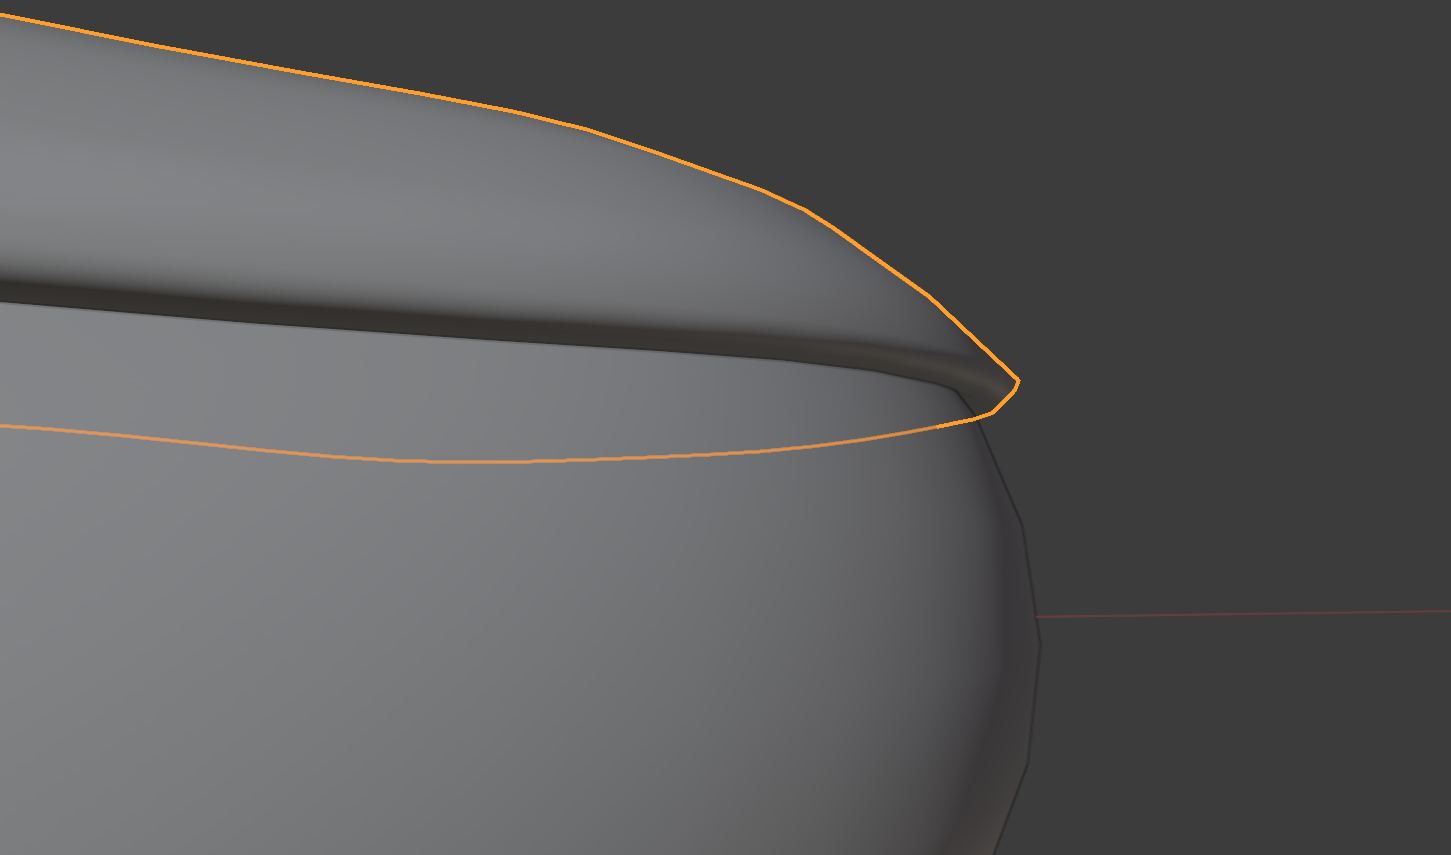
10. We notice that the icing is a little jagged, this is because the solidify modifier is added after the subdivision surface modifier, to correct this press the up arrow on the solidify modifier so that it takes effect before the subdivision surface modifier.
11. Voila we now have an icing on our donut. The next step is to make it droopy and more realistic.
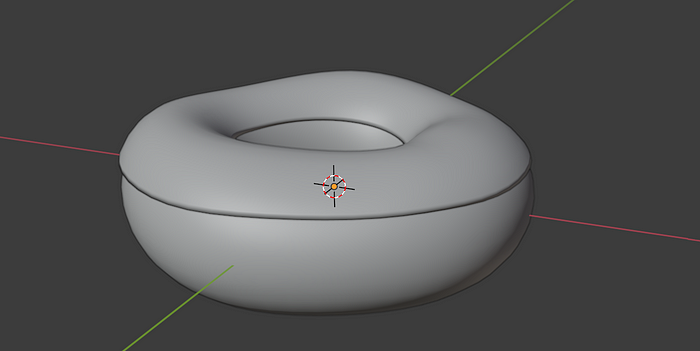
12. First of we would need to turn off the solidify modifier on edit mode, so that we can work with the mesh on the icing layer, this can be done by clicking the edit mode icon on the modifier menu:

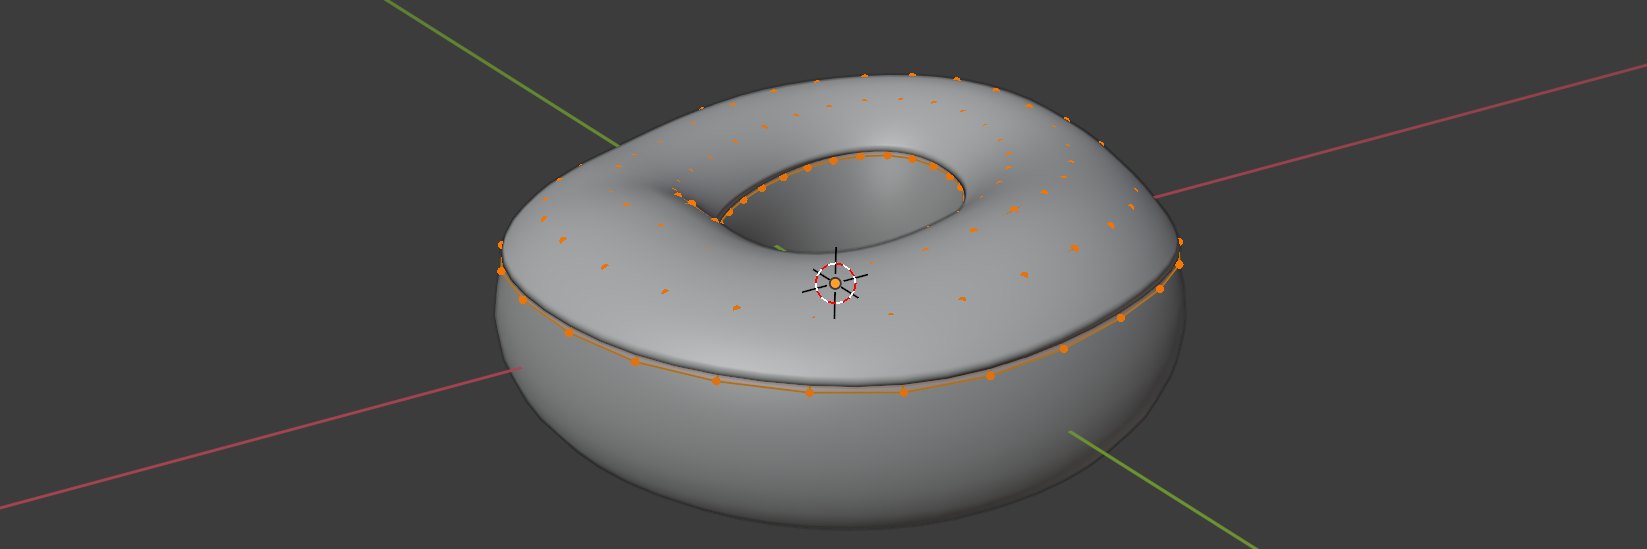
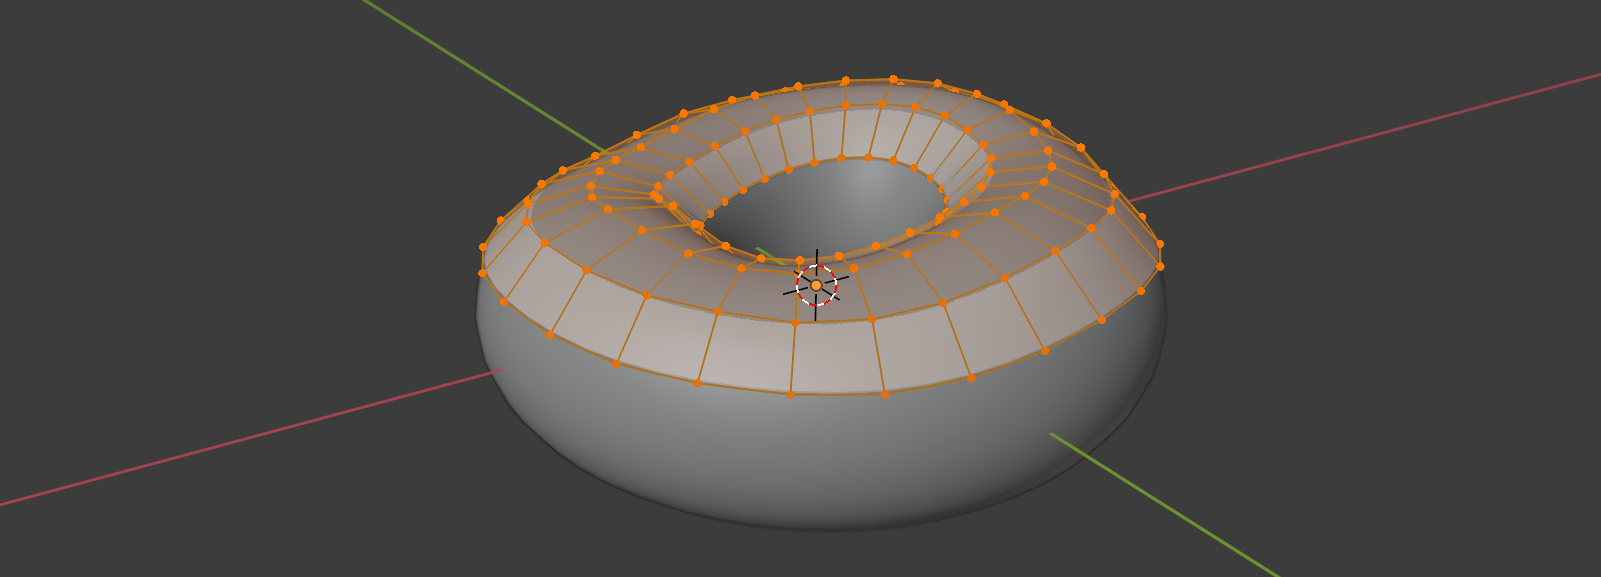
13. The next step is to increase the number of subdivisions so that we can work with out mesh a little more granularly. To do this select the mesh in Edit mode using A, and then right click on the mesh to open a menu and click subdivide.

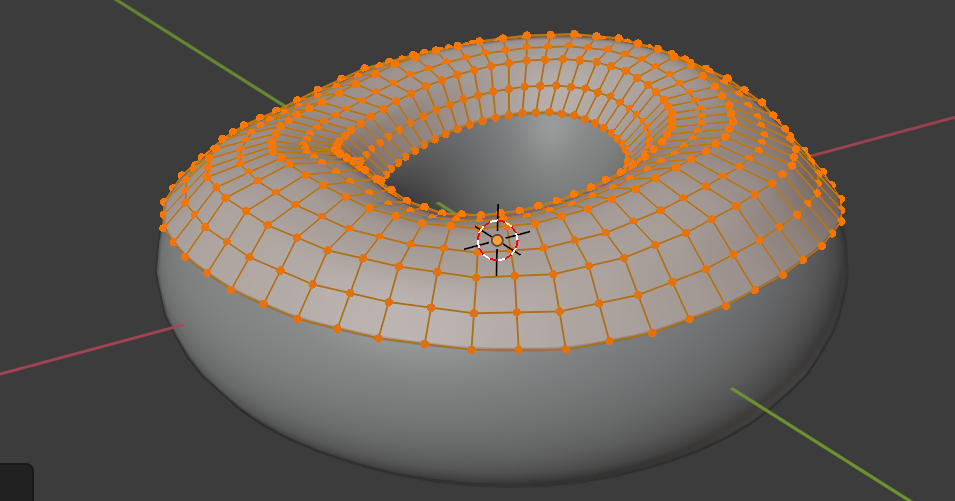
14. To make sure that the mesh is smooth and not jagged, make sure to turn the smoothness on the subdivide menu(on the lower left of your screen) to 1

15. The next thing we wish to do is to work with only the edge of our icing instead of the whole icing. To do that we need to hide the rest of the mesh. The edge can be selected by using the hotkey Alt while clicking on one of the vertices of the edge.

16. After this we need to invert our selection so that everything but the Edge is selected, this can be done using the select menu and clicking invert.

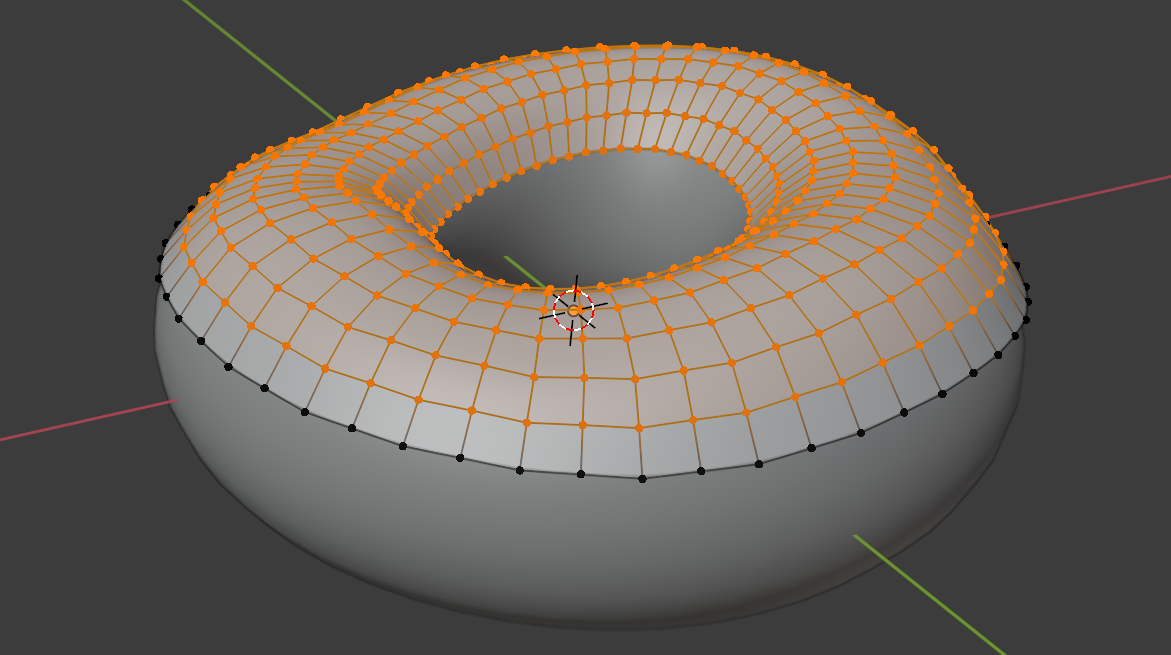
17. Then we can hide, these layers by clicking the hotkey H, Note this can be brought back by using Alt + H

18. The next step is to turn on snap in a way that it always sticks to the mesh behind it, this can be done by clicking the snap icon, selecting face and projecting individual elements like this:
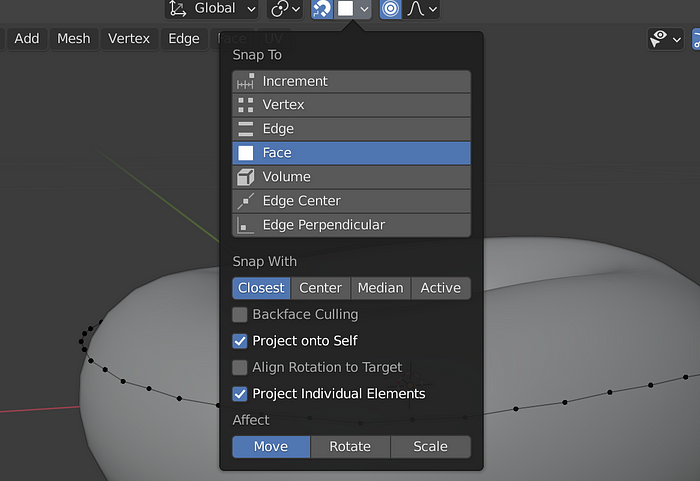
19. now we can go ahead and make our icing irregular by pulling the edges down wherever we want to, make sure to not be too regular since it looks artificial that way. We can also configure different fall offs for proportional editing according to our needs. This is how my icing looks at the end of this process:
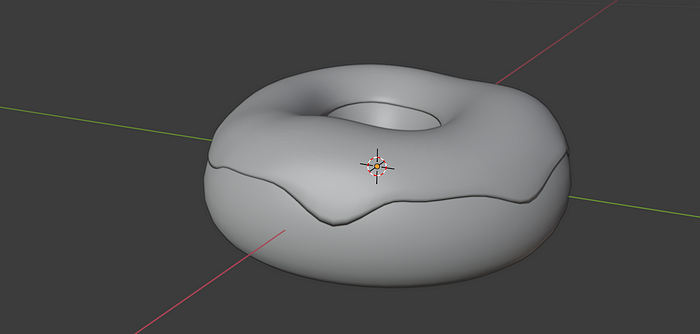
20. Now we will add the dribbling effect to our icing. To do this select two (or more) vertices and hit E (extrude) this will create two new vertices in whichever way you drag your mouse. Repeat this process for all the places where you want your icing to create a droplet effect.
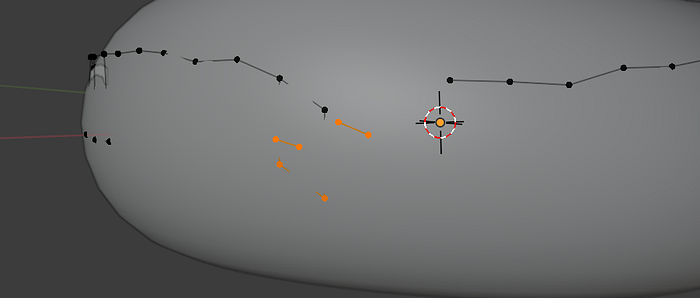
This is how my donut looks at the end of this process

21. It also might be a great idea to add a crease on your icing so that it looks like it’s hugging the donut better. This can be done on the solidify modifier by turning the setting “crease inner” to 1.
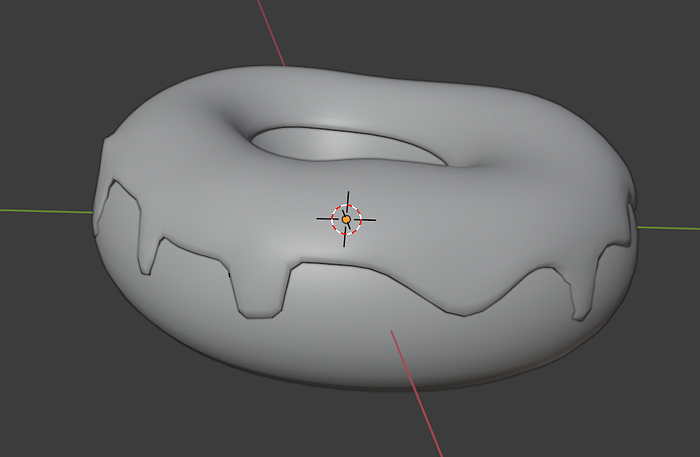
Voila you created a donut with an icing!