Creating a Donut in Blender — Modelling
I’ll just lay it out here, this is not my tutorial. I’ve been following this amazing guy called Blender Guru on YouTube, and he has an amazing series: https://www.youtube.com/playlist?list=PLjEaoINr3zgEq0u2MzVgAaHEBt--xLB6U
What I’m trying to do HERE is create a text transcript for this series, with all the steps listed in text, so that it’s easier to follow and look back on whenever necessary. Also I recommend watching the videos and using this blog just as a side note.
Modelling
- Open a new project
- delete the default cube by selecting it and hitting delete.
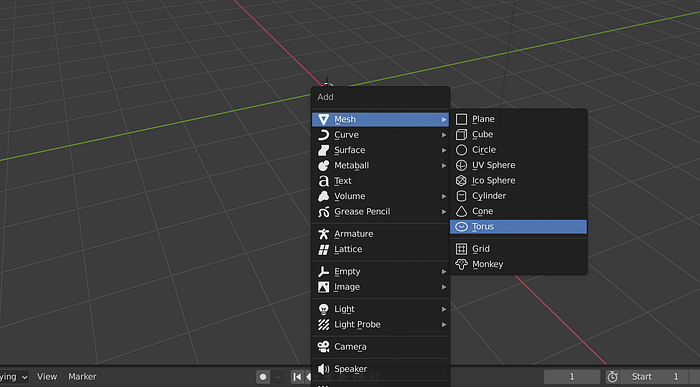
- We want to start with something that looks like a donut, so we start with a Torus, Select Shift+A -> Mesh -> Torus
4. To adjust the dimensions of the Torus to make it look more like a donut we click on “Add Torus” Towards the bottom left of the screen.

5. If you don’t see this setting it is probably because you performed an action after creating the torus.
6. Clicking on Add Torus opens the settings pane for the Torus where we can adjust how the Torus looks:
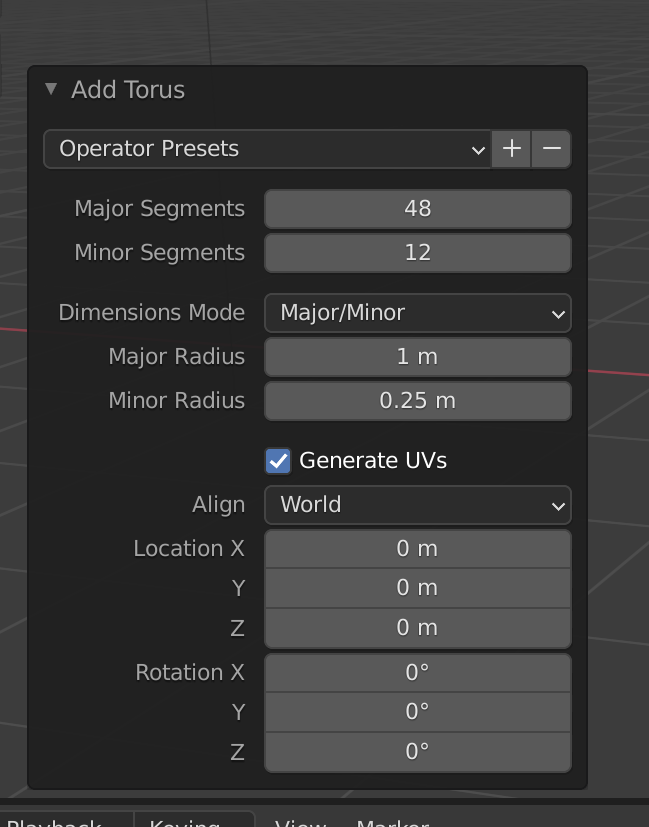
7. Use this window to resize the donut. It is a good practice to have models be real world object size, so we will make the major radius as 5cm, and the minor radius can be adjusted to however you want the donut to look. My donut looks like this with these settings:

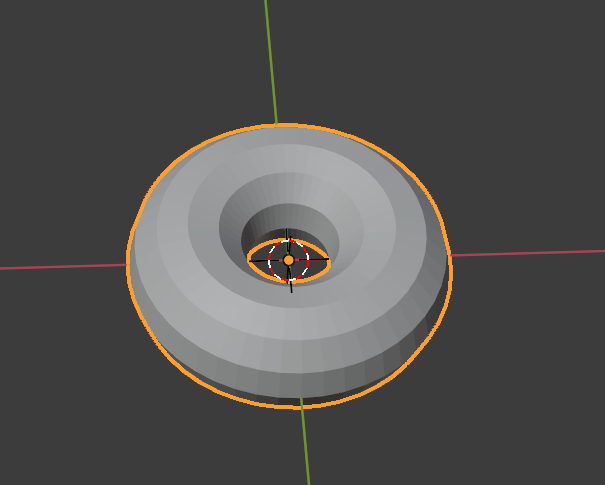
8. We want a lower resolution because it’s easier to work with less vertices and we also want the segments to be as square as possible hence we’ll change the major segments setting to 28 and minor segments setting to 12.
9. Our Donut is a bit perfect right now and real world donuts are lumpy, to achieve that effect we need to open Edit mode on our donut. To do this you can select this option on the top left:

10. In this mode you can grab individual vertices and move them around but we can make it easier for ourselves by using the proportional editing tool which can be found here:

11. To control the precision of the effected vertices, use the scroll button on your mouse to decrease the precision size until you see a circle

12. Play around with it to create an imperfect donut of your liking. This is how I made mine turn out:
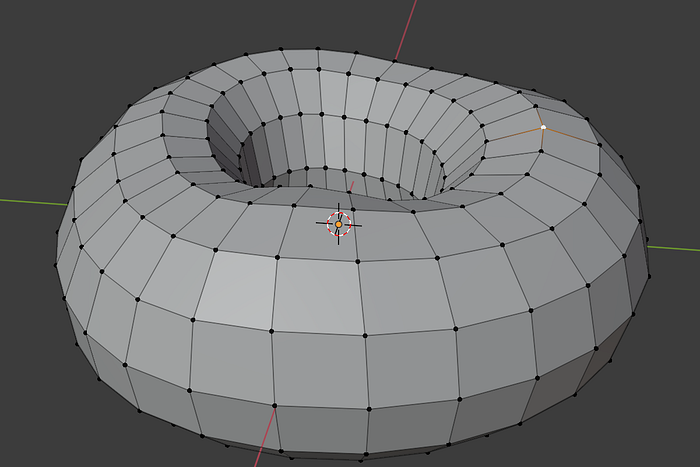
13. Now that we’ve gotten a lumpy donut, we want to smoothen it out, go to object mode right click on your mesh, and select “shade smooth”, this is how it would look after you do it:
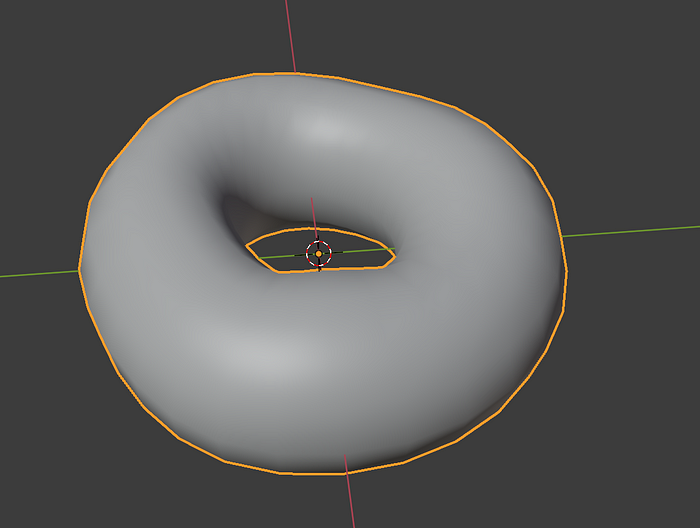
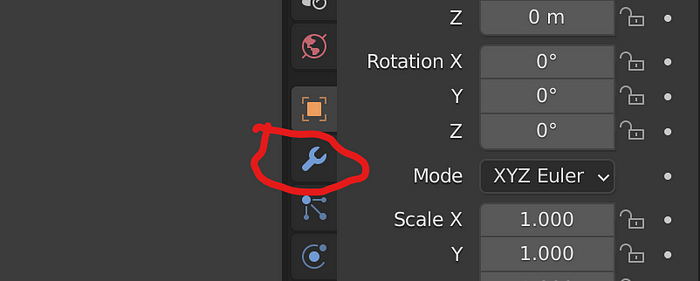
14. We notice that the model is very jagged in terms of resolution and we wish to smoothen it out. To do this go to properties which is the right pane on the side and select modifiers which is the spanner shaped icon:
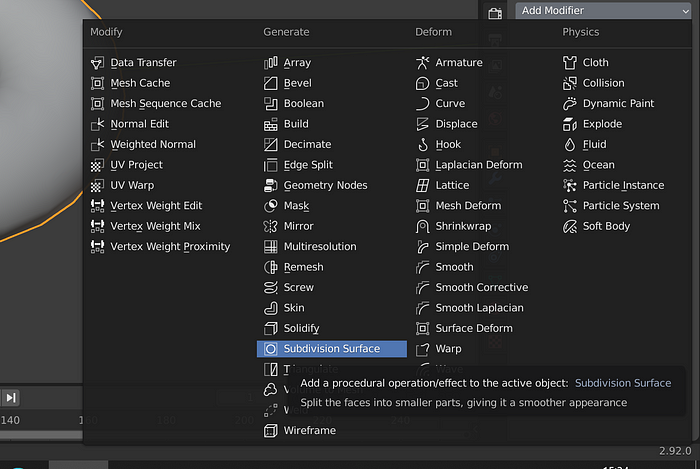
15. After this click on add modifier and select “subdivision surface” and it will smoothen your donut:
16. This is how my lumpy donut looks at the end of this tutorial, increasing the viewport level in the modifiers will increase the resolution but it will also require more graphics to do so, it’s better to keep it at one.
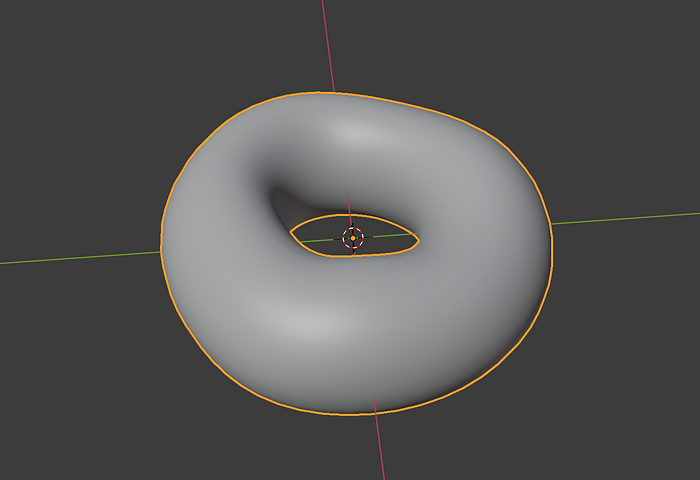
Congratulations you made a lumpy donut!